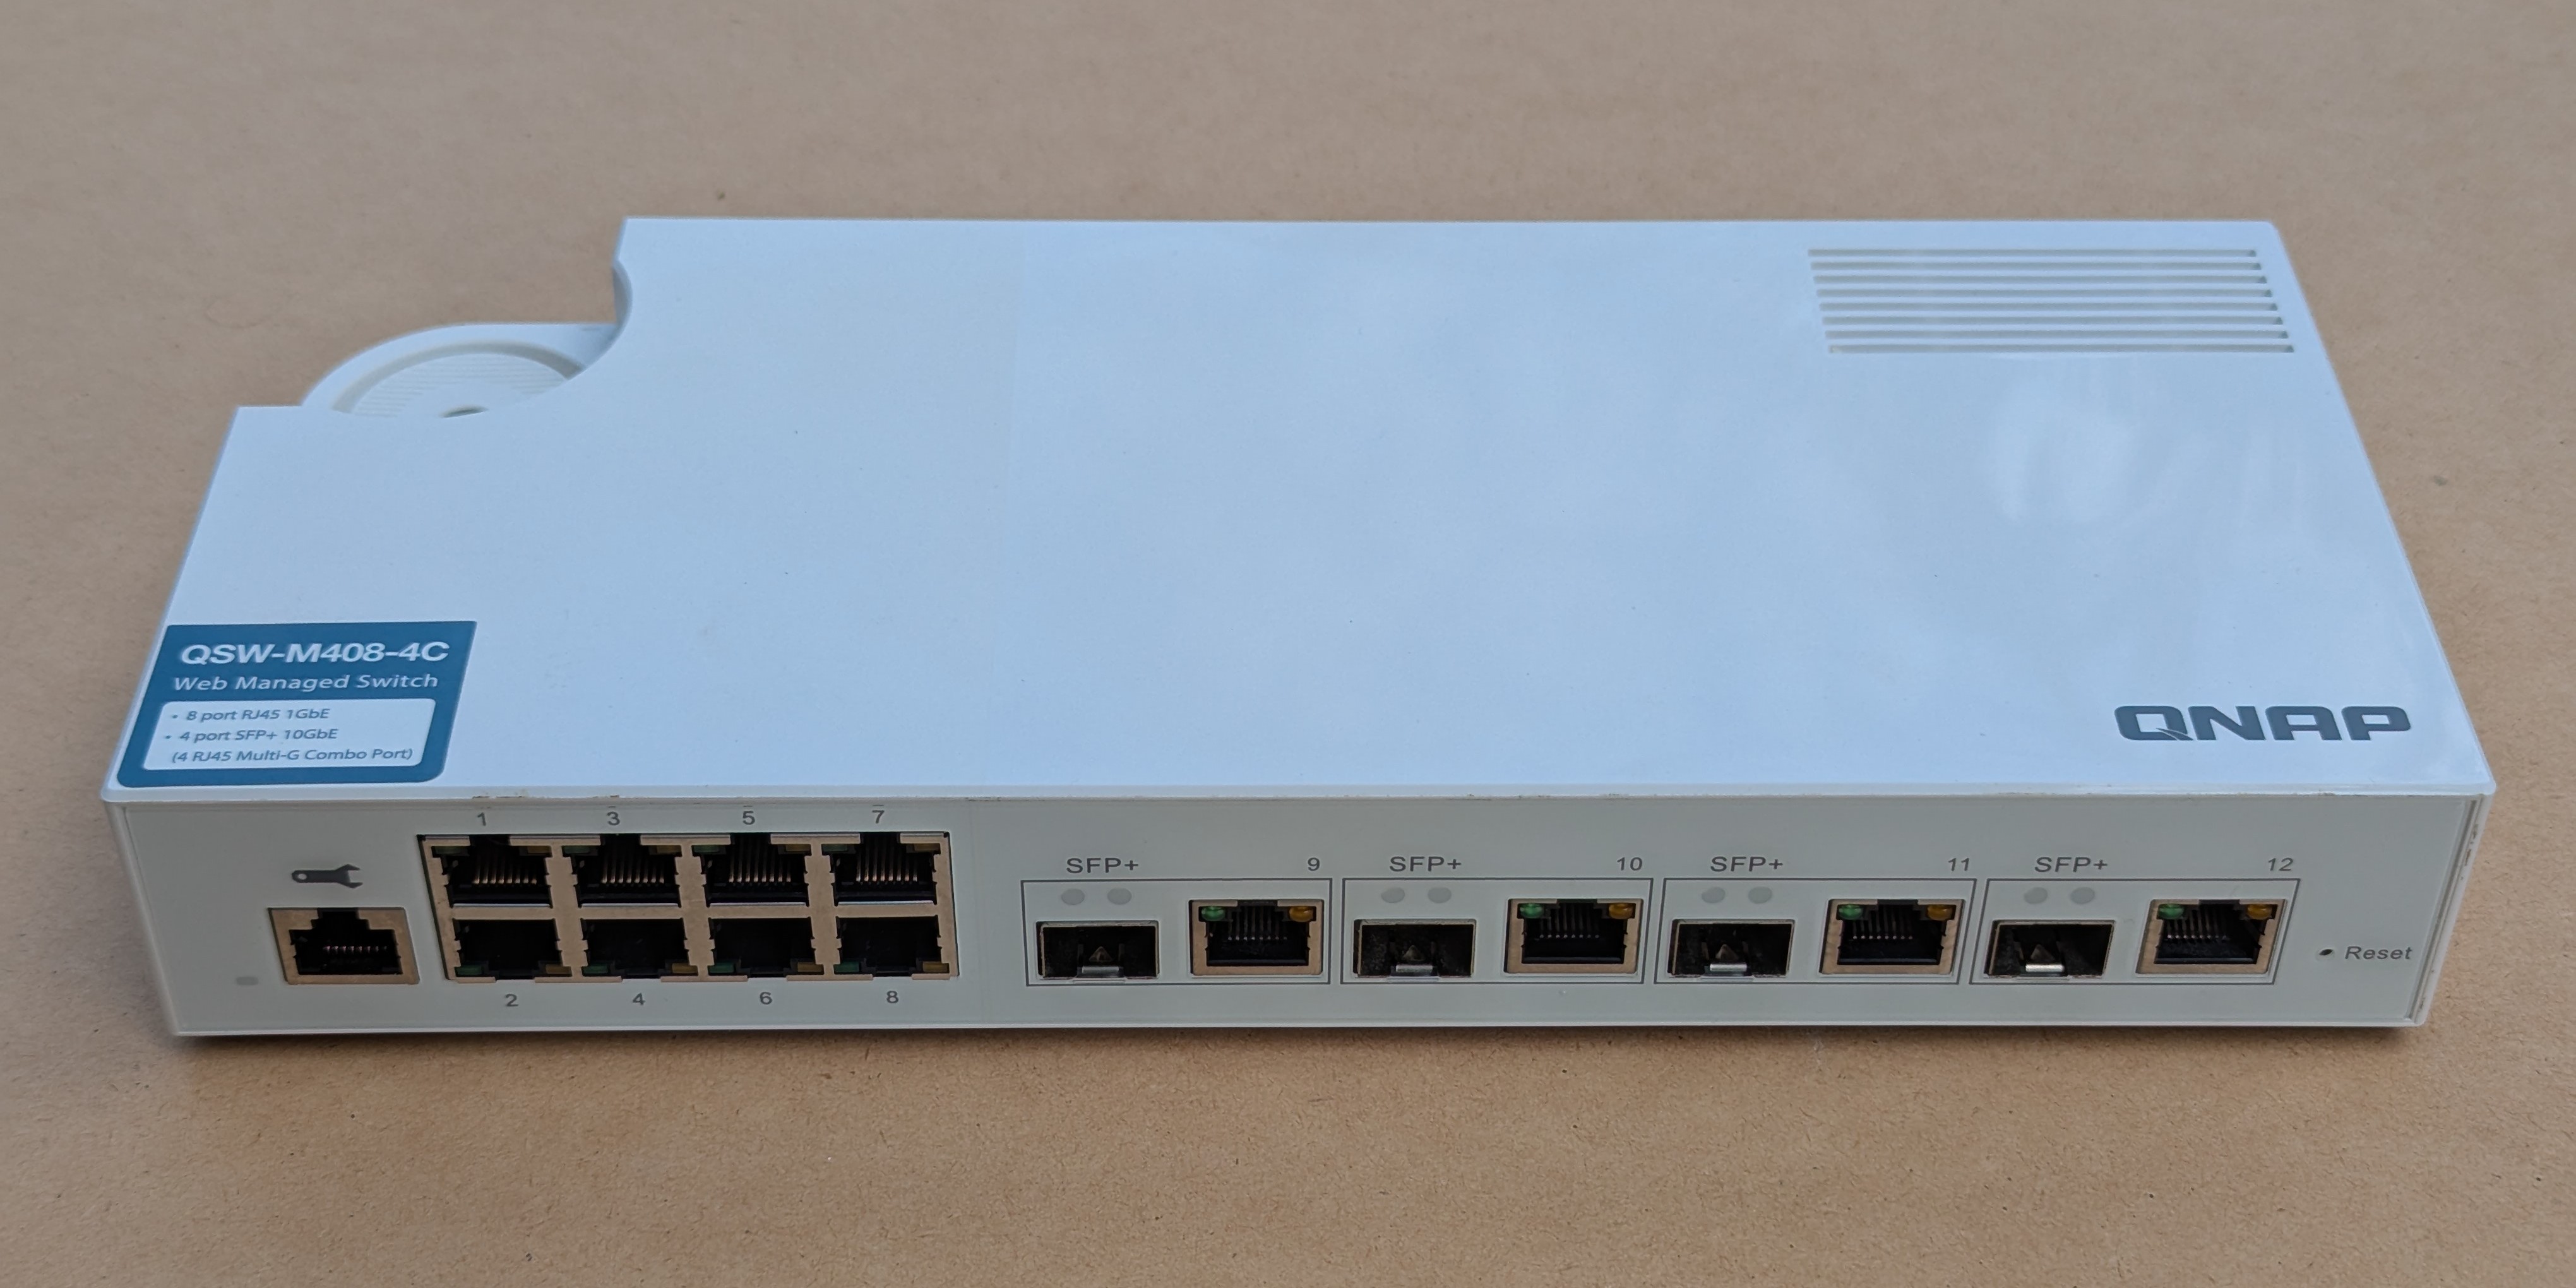
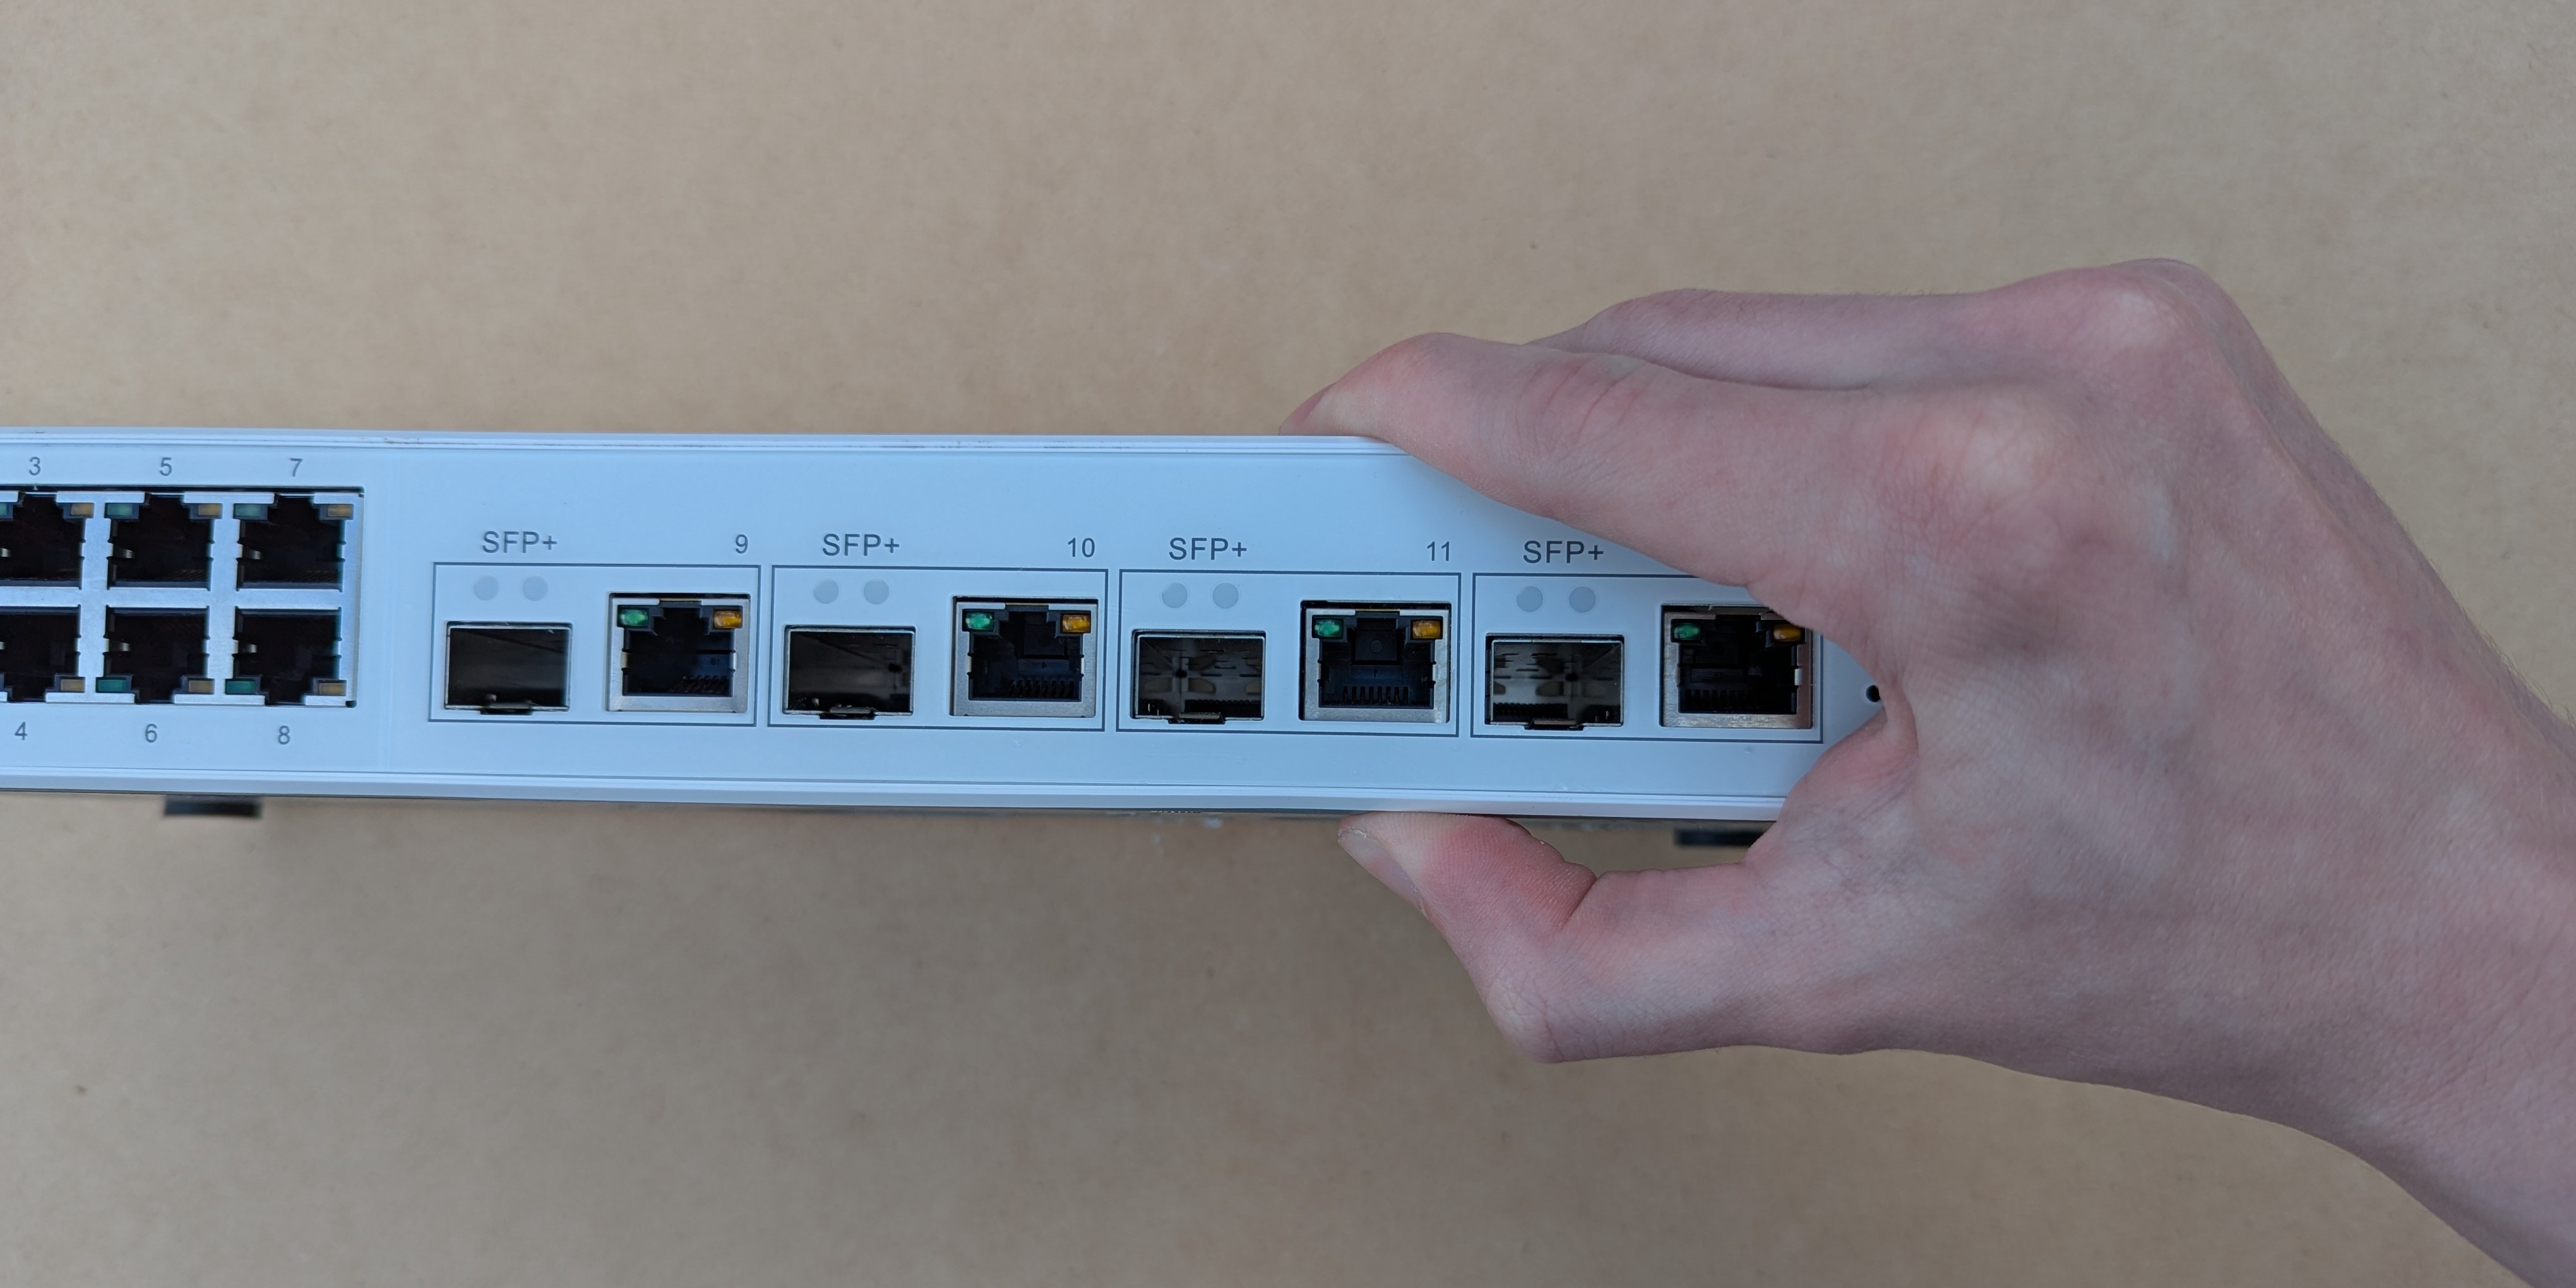
I recently replaced my QNAP QSW-M408-4C with a MikroTik CRS312-4C+8XG, and I thought it would be interesting to document the taredown process. The QNAP switch has 4x 10G SFP+/RJ45 combo ports and 8x 1Gb RJ45 ports, making it a decent switch for a home lab, but I found the UI to be very over simplified and lacking in features compared to the MikroTik switch.
Tools Required
- Phillips head screwdriver
- Plastic spudger (optional)
Taredown Steps
-
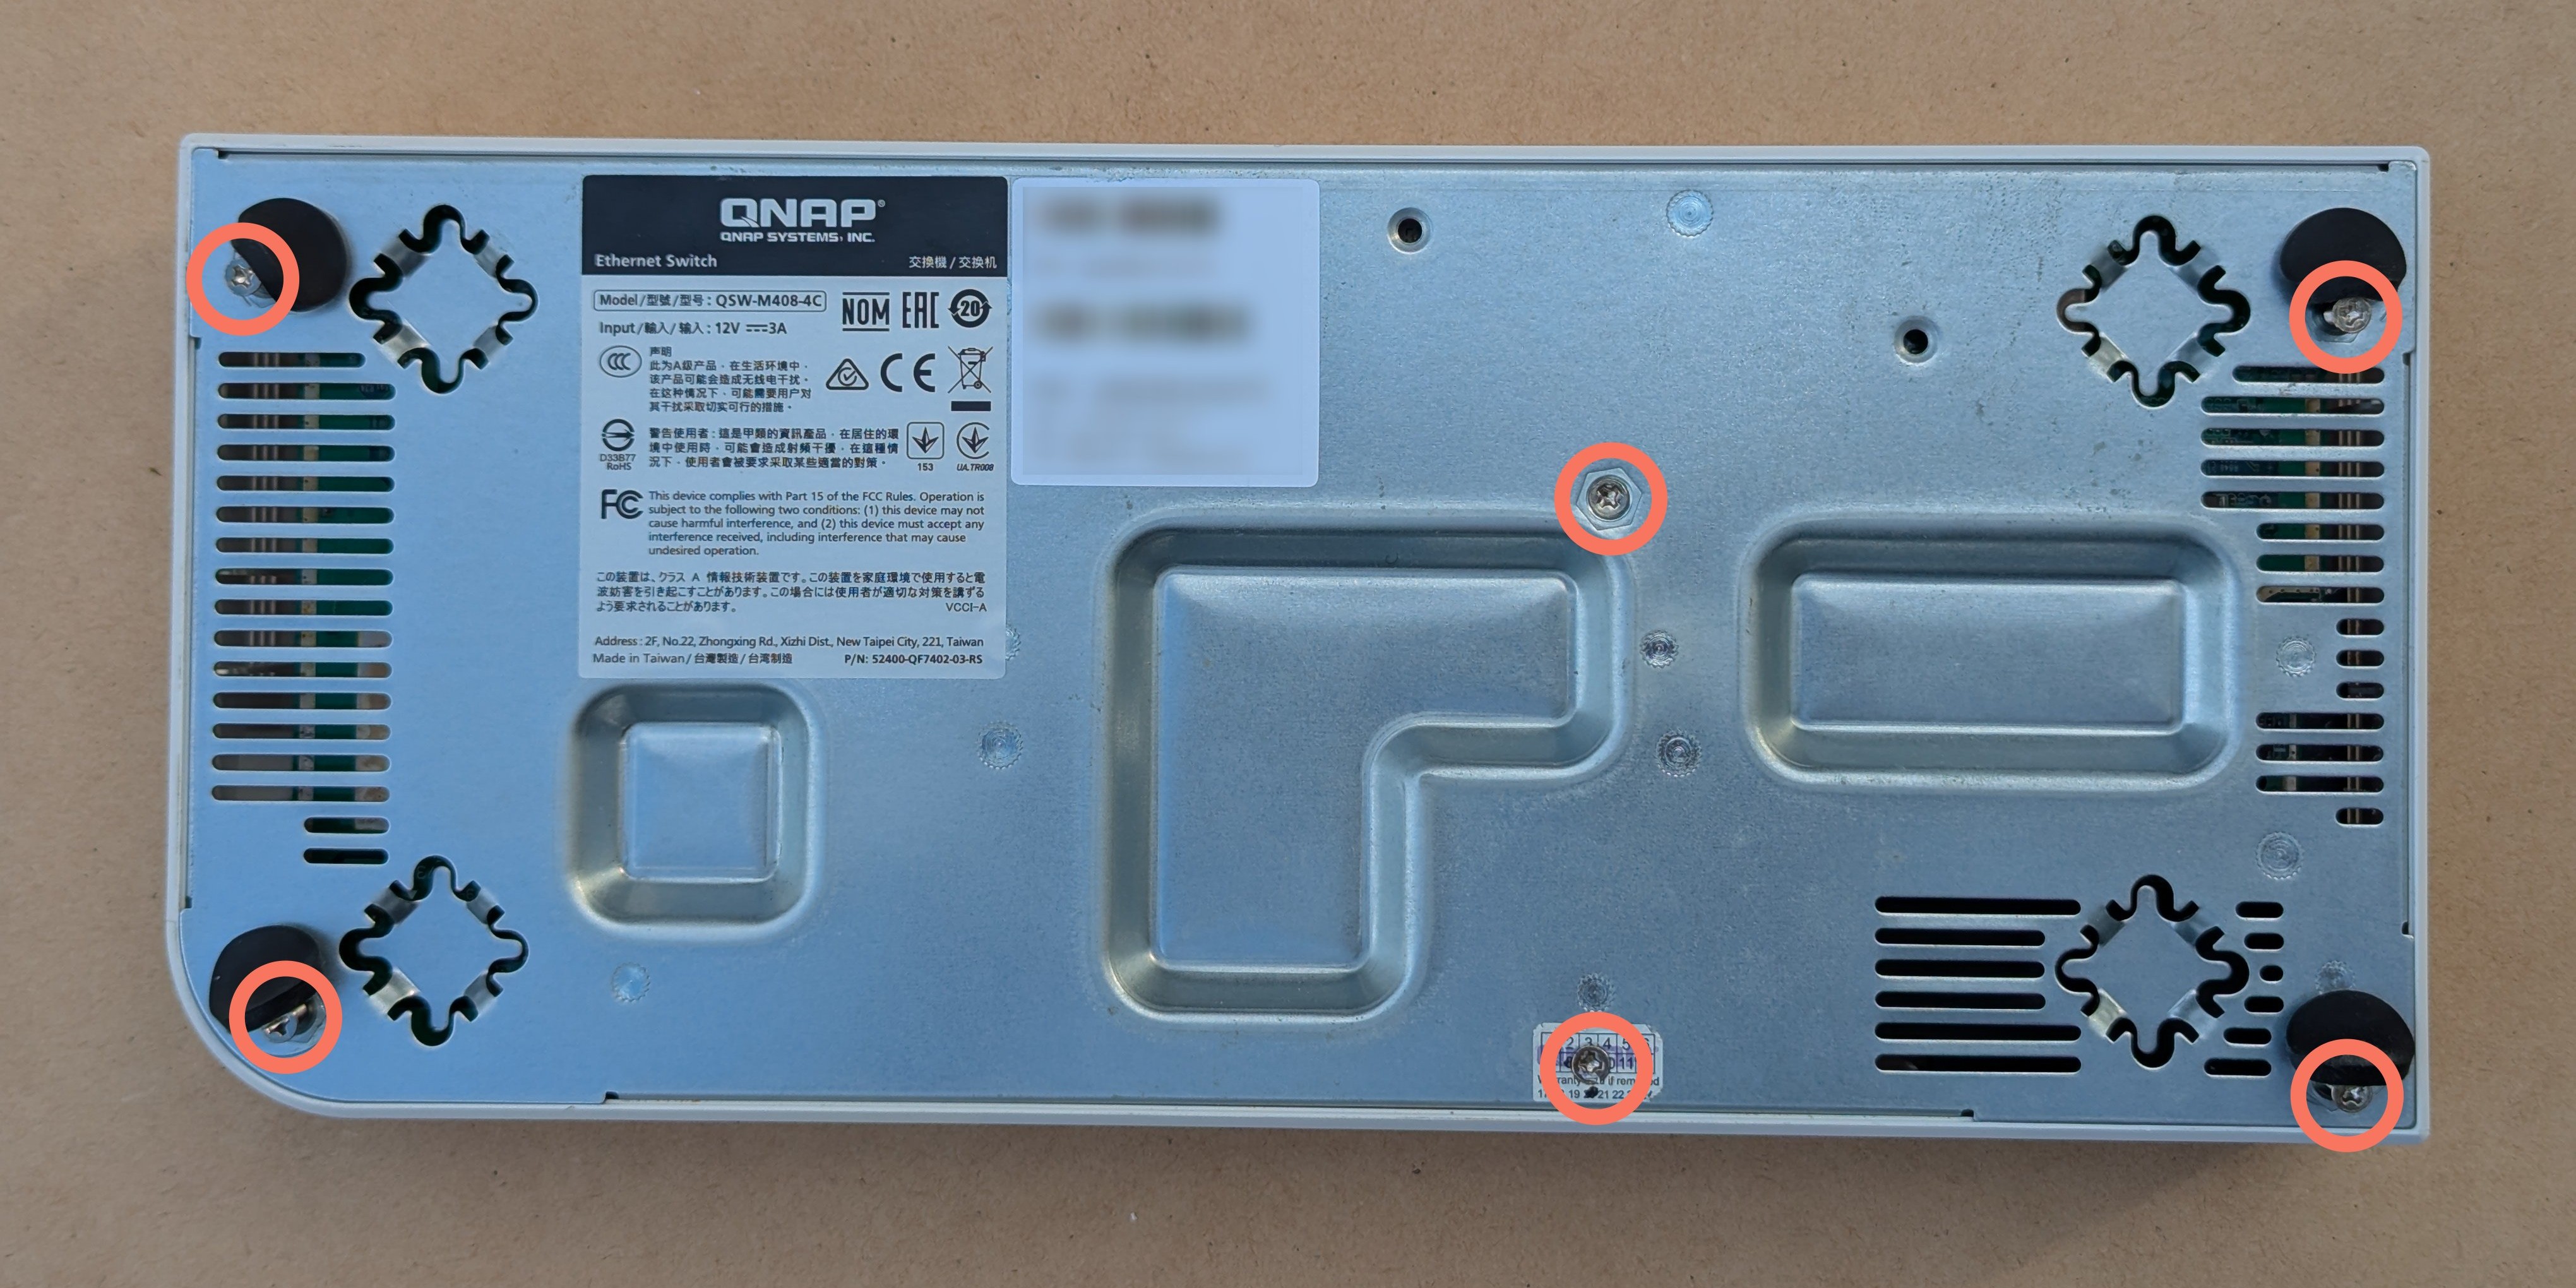
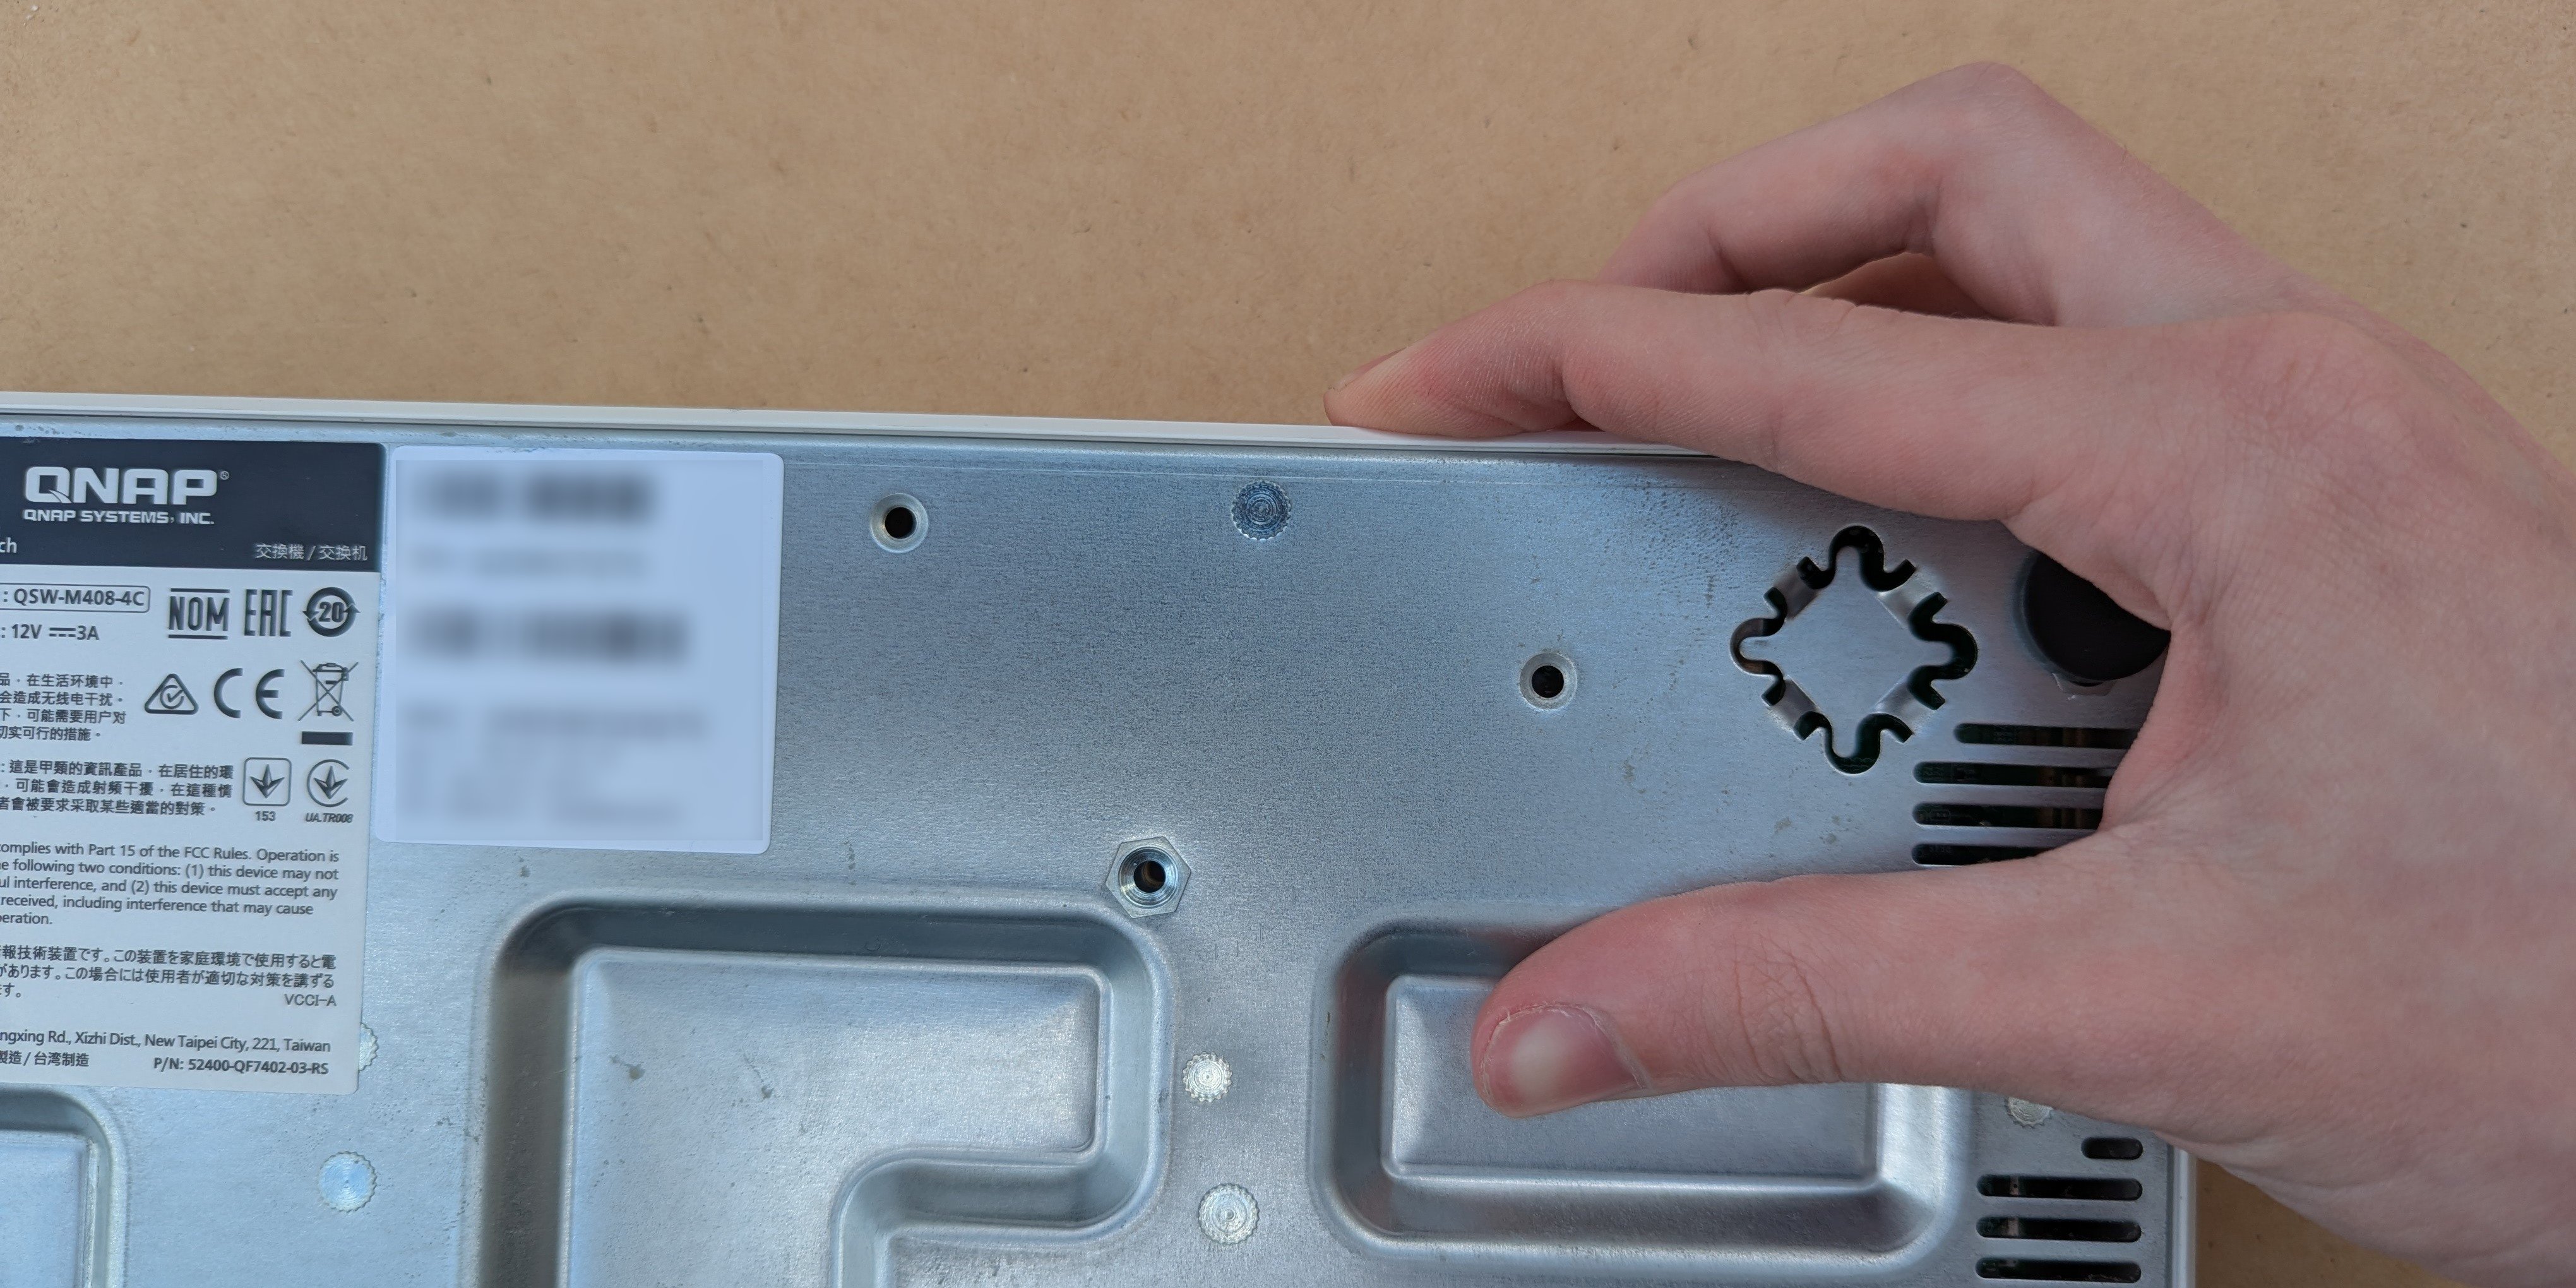
Remove the screws: There are 6 screws on the bottom of the switch, 4 of which are under the rubber feet, and another is under the manufacture date sticker. You will need to peel off the rubber feet and remove the screws using a Phillips head screwdriver.
-
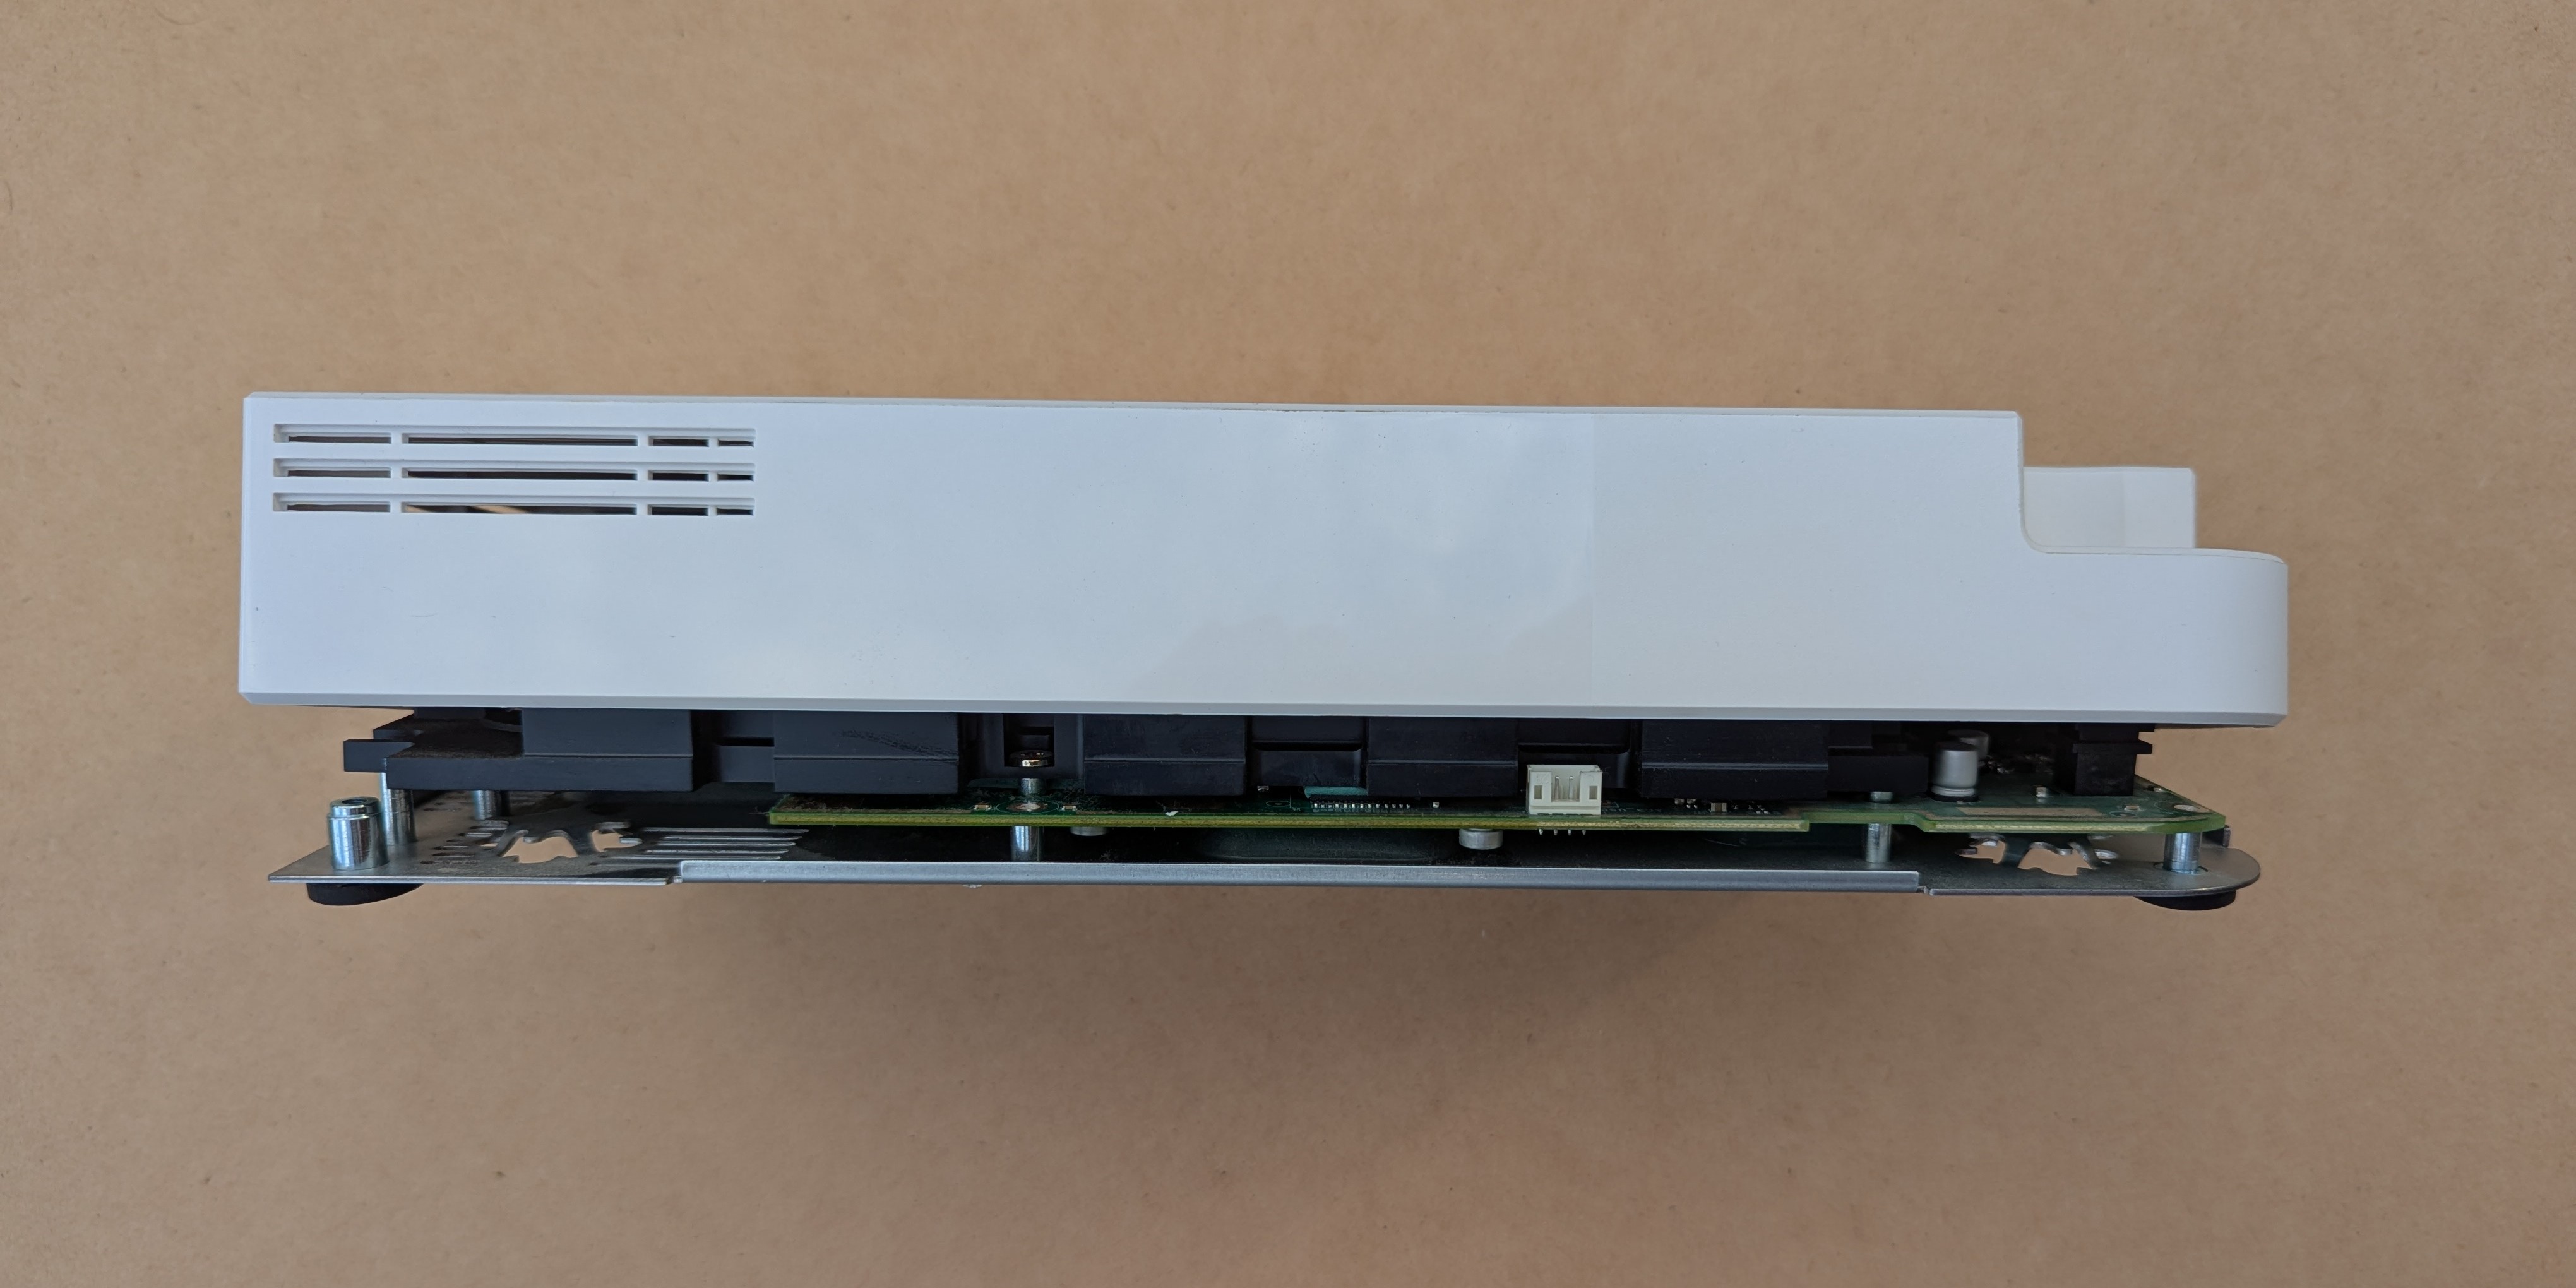
Remove cover: The back of the switch should now be loose, you can carefully lift it slightly, but the front is still held in place by clips.
-
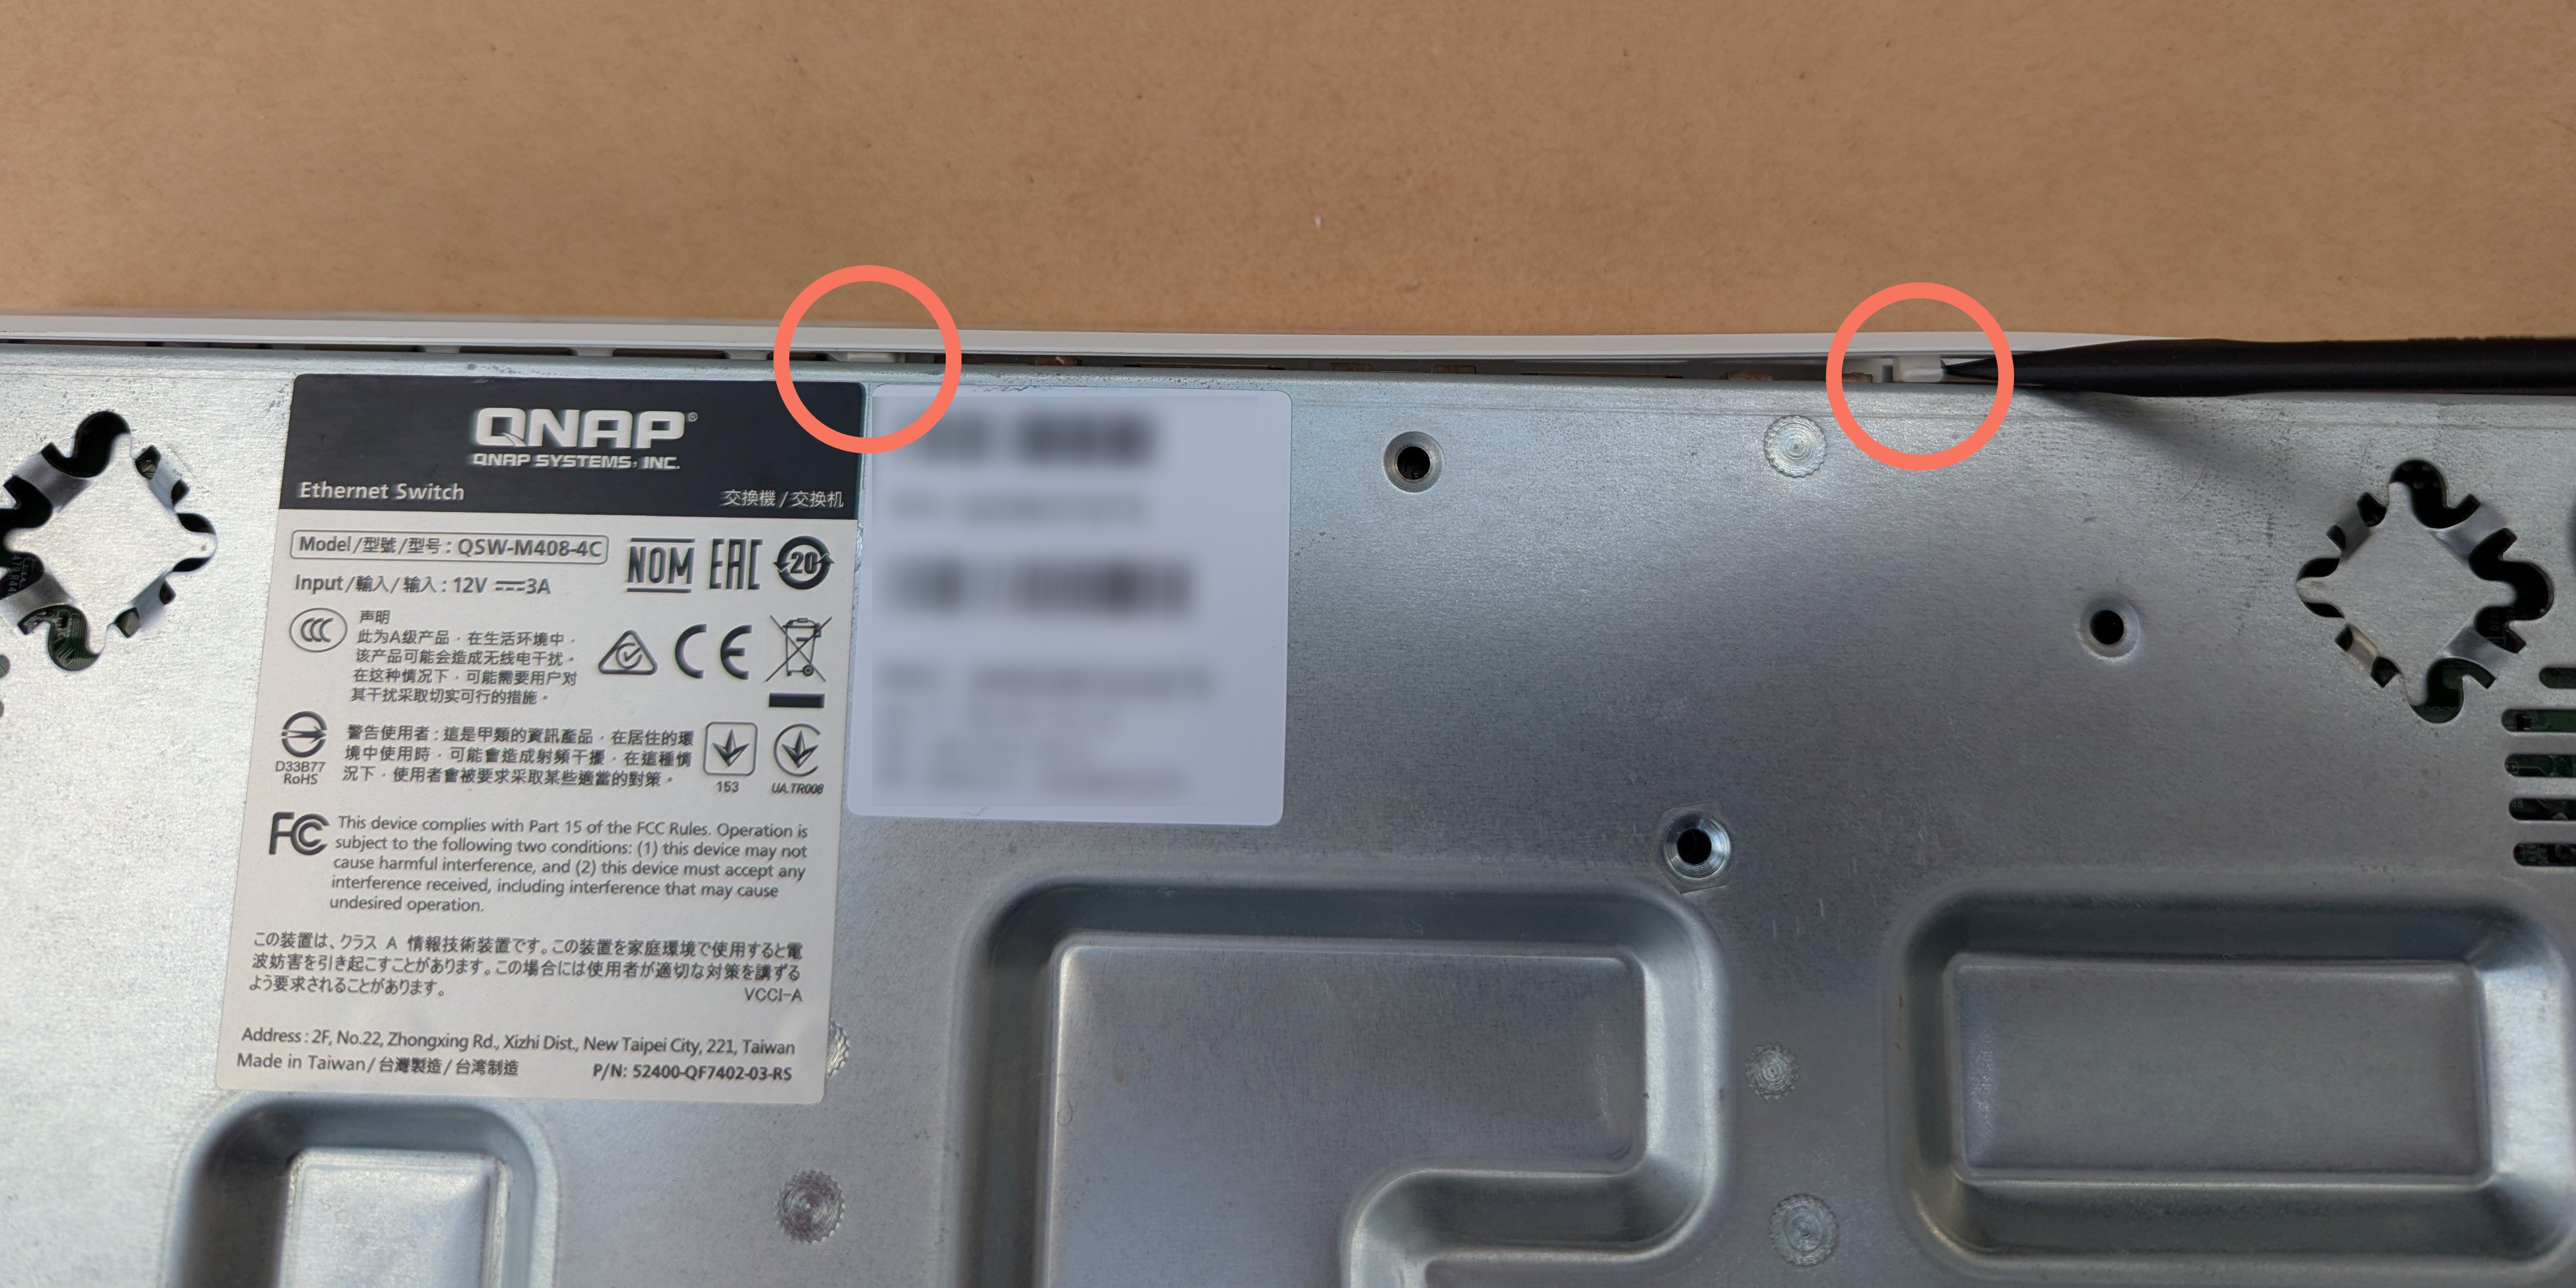
Release the clips: Use a plastic spudger or your fingers to gently release the clips on the front of the switch.
-
Remove the cover: Once the clips are released, you can fully remove the cover.
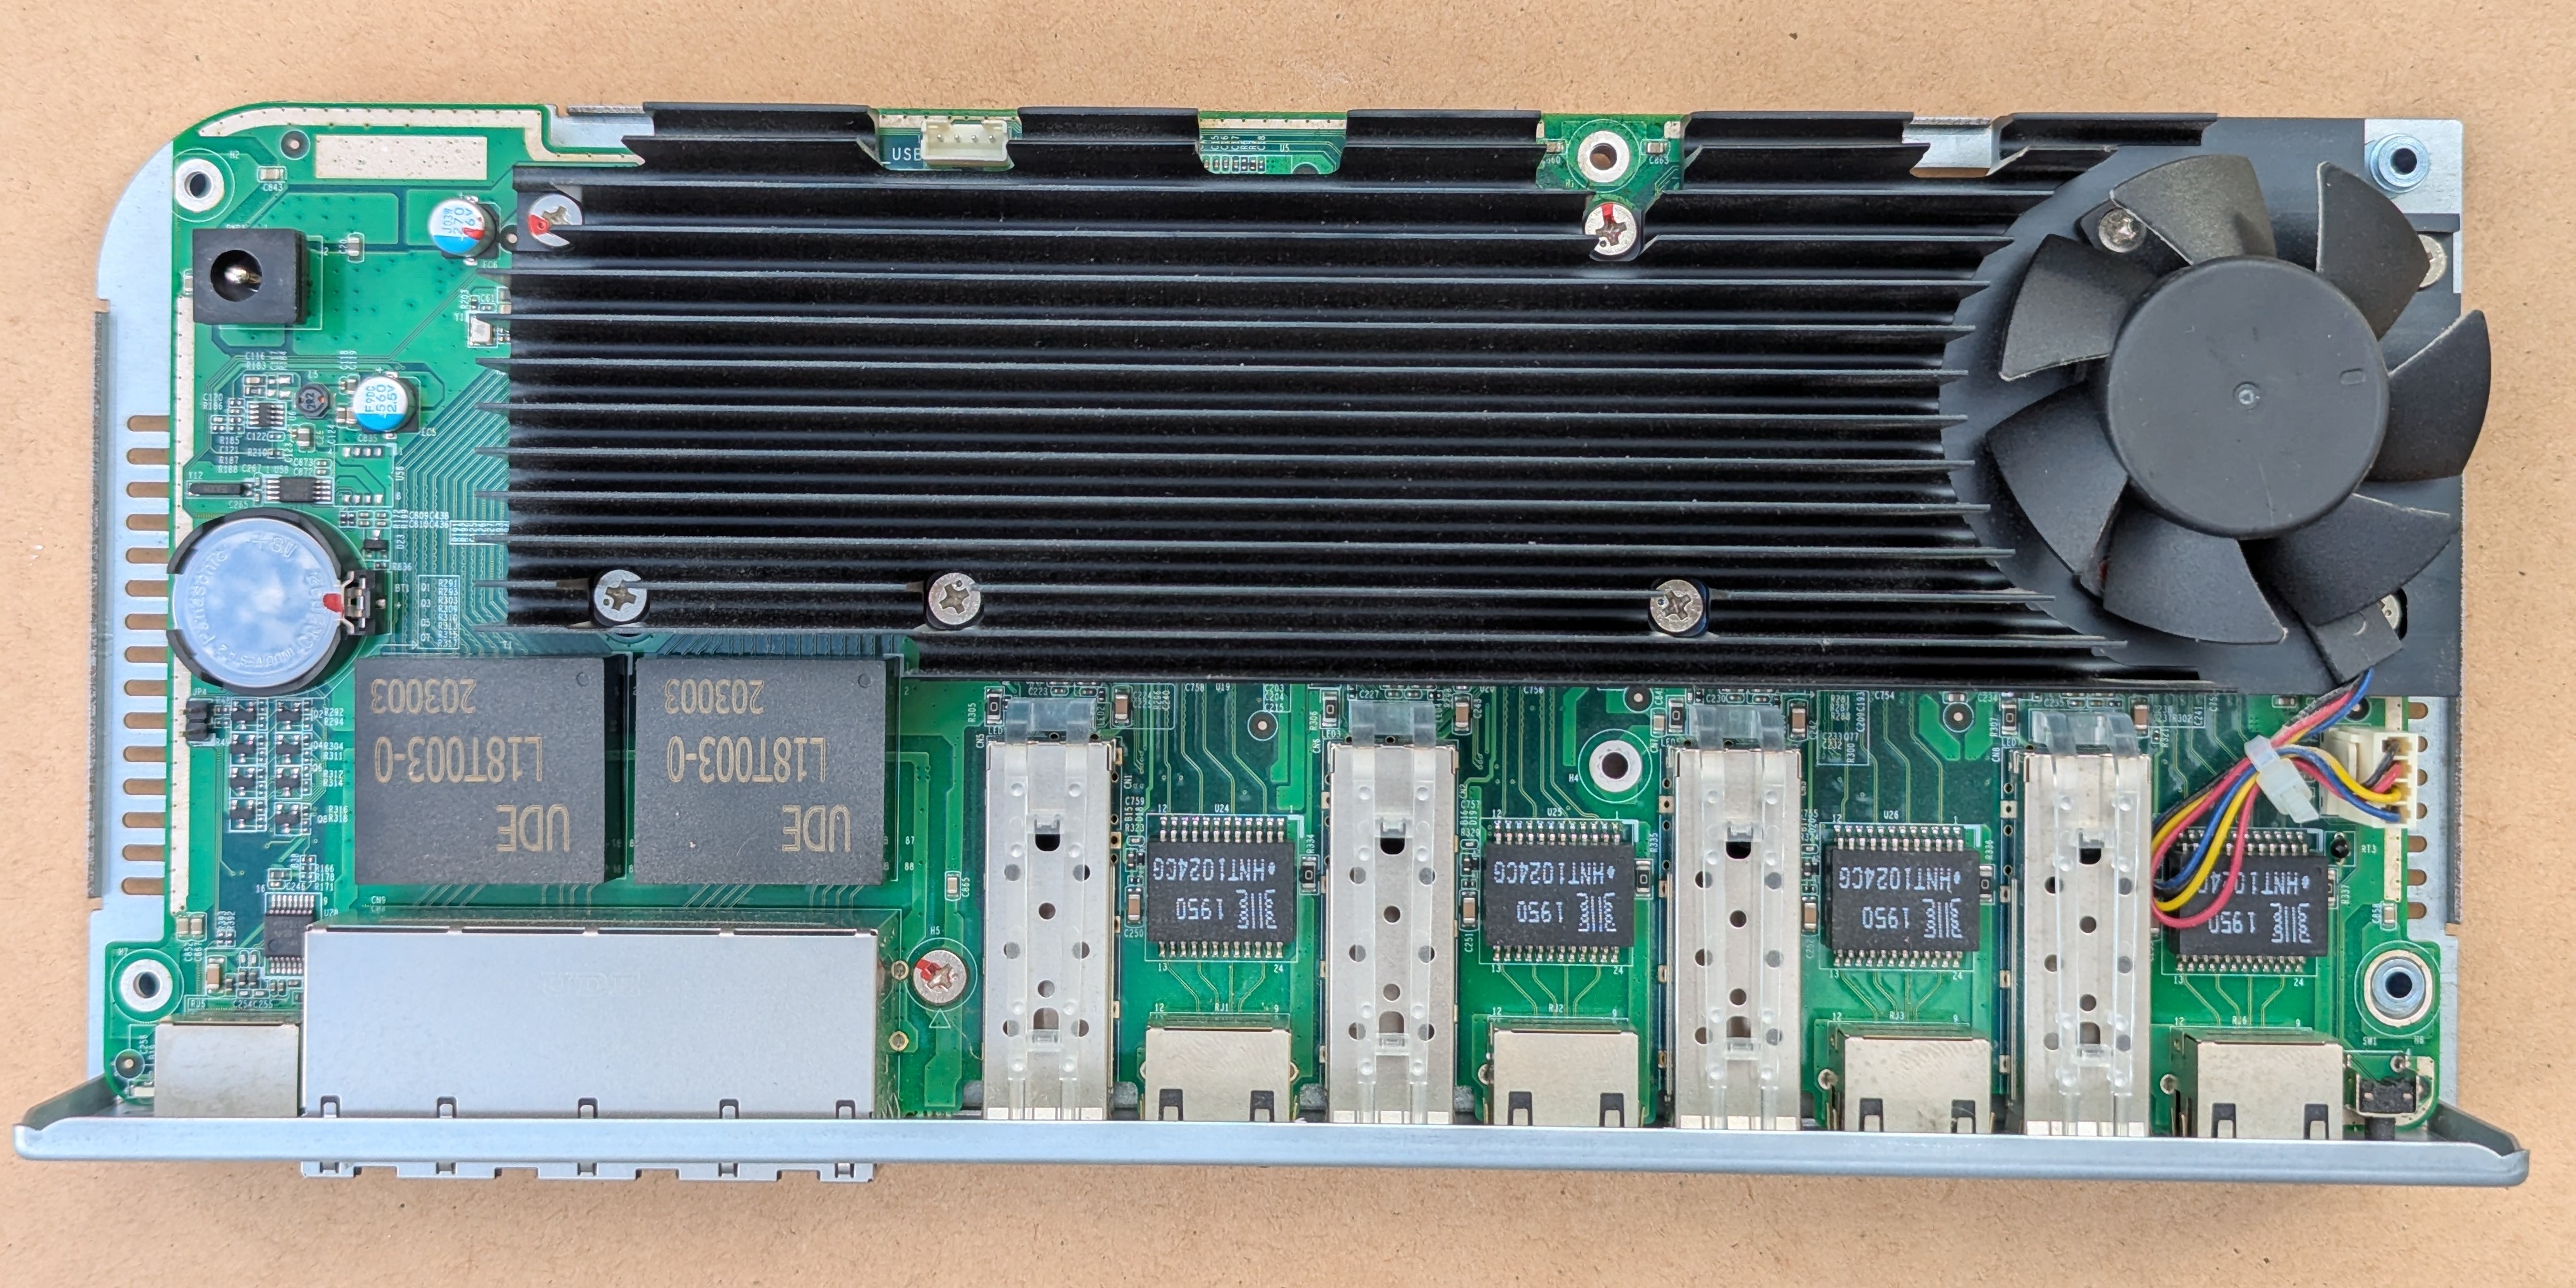 Side note: There’s a USB header along the top of the PCB, seems interesting…
Assembly Notes
The assembly is the mostly reverse of the disassembly, but there are a few things to keep in mind:
-
Be sure to push the cover back on firmly, and ensure the SFP+ ports are aligned properly as the metal bits can catch on the cover.
-
You may need to press down on the front clips to ensure they snap back into place.
I hope you found this taredown guide helpful!
Steve.