I was recently wanting to convert all of my old hard drives from old computers to VMDKs so that I could run the drive virtually in VMware, but I couldn’t find a way to do it so that’s why I’m writing this now. Most other guides would use Disk2vhd and use Hyper-V but most people don’t have a pro version of Windows to use that or some guides would say to use VMware vCenter Converter but the physical machine has to be running and I only have the hard drive so I can’t use that. Then I found StarWind V2V Converter which can convert a VHD (and VHDX) file from Disk2vhd and that’s what this guide is going to use.
Stuff to get beforehand
- Download Disk2vhd and StarWind V2V Converter (or click this link to download StarWind V2V Converter without giving your info away).
- Buy a SATA (or IDE) to USB adapter to easily connect the old hard drive to your computer.
Steps
UPDATE
(12/05/2018): I’ve recently found Vmdk2Phys which is still in beta (and doesn’t look the best) but is more straightforward then following the guide below. Vmdk2Phys also supports converting VMDKs to physical drives.
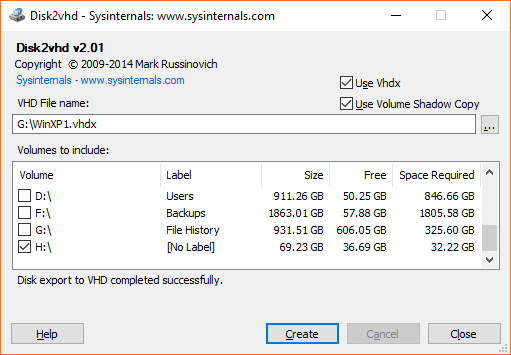
- Open Disk2vhd and untick all volumes except the one you want to virtualize and pick a location to output the file to, then click the ‘Create’ button. It will take a while to finish depending on the size and speed of your drive.
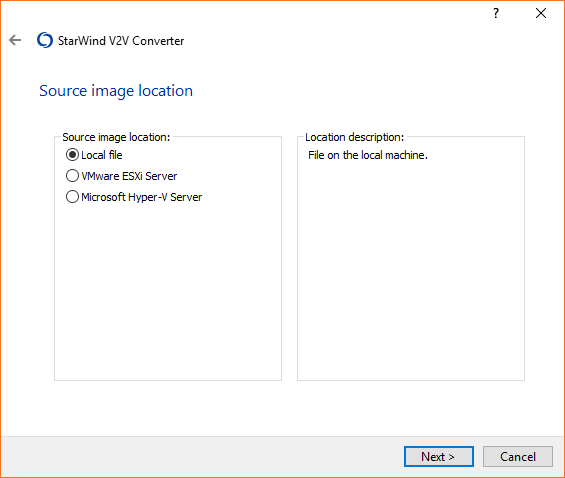
- Once Disk2vhd finishes open StarWind V2V Converter select ‘Local file’ and click ‘Next >’ when it asks for the ‘Source image location’
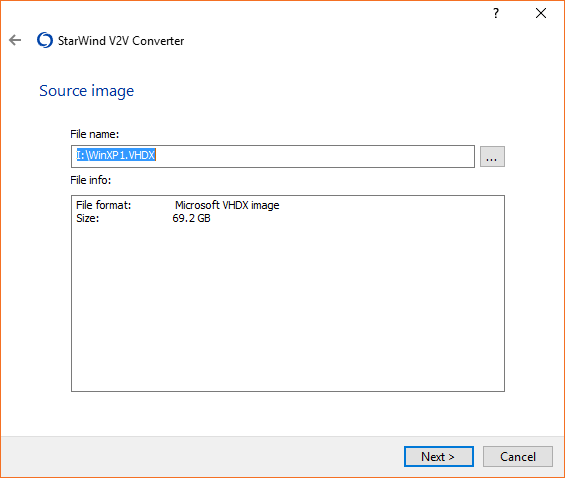
- Select the ‘Source image’ then click ‘Next >’
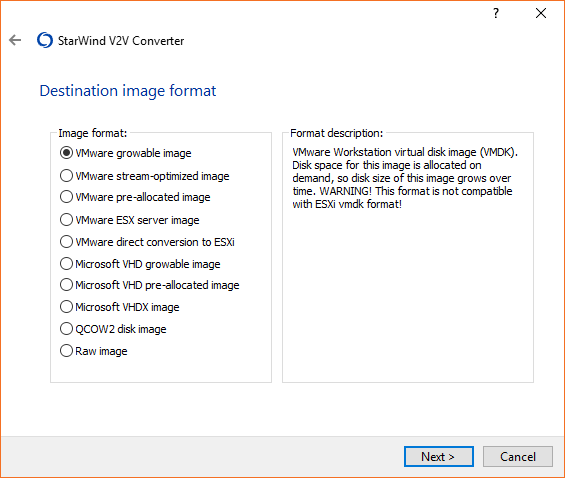
- Select the format you want to convert to (the 1st and 3rd option are probably the most compatible option with VMware Workstation Player)
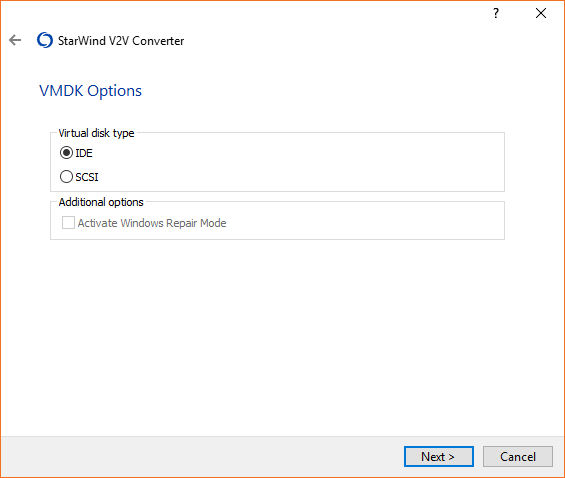
- Select the ‘Virtual disk type’ (Select the one most compatible with the windows installation eg. IDE for Windows XP)
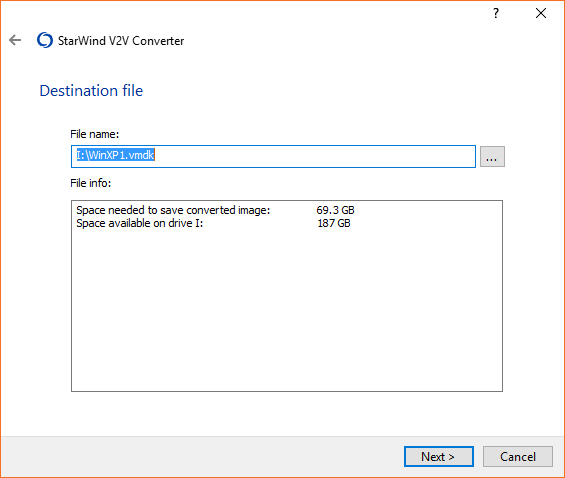
- Set your destination file location then click ‘Next >’
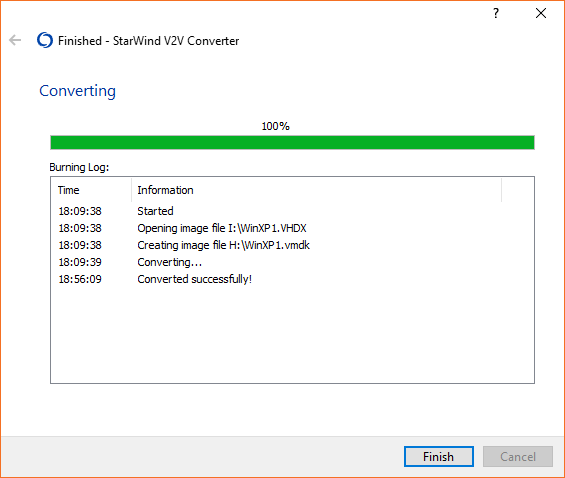
- Run the converted file in VMware Workstation Player
Thanks for reading!
Steve.